Ebb and Flow
Background
In my Computer Aided Design for Apparel course I was tasked with envisioning and creating an apparel line for a chosen target market. I chose women from ages 22-32. I began by gathering inspiration and building a strong and cohesive concept board that included a specified target market, color pallet, key fabrics, and important design elements. I used Adobe Illustrator to build this board and other sources to deeply research my market and develop my collection: Ebb and Flow.


Once I had a secure foundation and vision for my collection, I was able to begin creating 2D fashion flats of the garments that would compose the collection. I drew a total of 5 original flats for my collection. I utilized Adobe Illustrator tools to draw these designs and referenced the Fashionpedia handbook to build the most accurate and detailed silhouettes.
I moved forward in the development as I chose one of my five pieces to bring to life. The design I chose was my fitted princess seam dress with bell sleeves. Additionally, I curated a design plan with details on estimated fabric costs, style descriptions, and target markets/retalors.

The Process

The technical design process began as I digitally drafted a 2D pattern for the garment using Gerber Accumark Software. Originally, the pattern would have also been cut and sewn physically but due to COVID-19 restrictions CAD work was only utilized.
The design process is not a linear one and as I built this pattern in the Gerber Accumark I realized I wanted to make some changes from my original 2D flat drawing. I gave the CF piece a V neck line rather than a Boat neck line. I also removed the waist band for a smoother look.

The process moved from 2D to 3D as exported the pattern into Optitex. In this program, I digitally sewed the garment and simulated a 3D drape onto a model. My first drape on Optitex was not perfect. The root behind these issues and how I solved them are highlighted in each separate image description. I reworked the pattern pieces using Optitex's 2D tools.

There is an excess of the fabric in the front of the dress. This is concluded from the bulging and folding of fabric in improper areas as well as the shoulder seams sitting above the model's body. I successfully corrected this issue by decreasing the length of CF shoulders and the width of the CF Skirt area. I also pulled in the bust width on both side pieces for a snugger and slimmer fit.

Displayed above there is an obvious fold in the back shoulder area. This is due to the Center Back pattern piece being longer than necessary. I solved this by pulling the shoulder seams down gradually until the fabric laid smooth against the model's back. I also decreased the width of each of the back pattern pieces similarly to the front to create a body contoured bodice.

There is an excess of the fabric in the front of the dress. This is concluded from the bulging and folding of fabric in improper areas as well as the shoulder seams sitting above the model's body. I successfully corrected this issue by decreasing the length of CF shoulders and the width of the CF Skirt area. I also pulled in the bust width on both side pieces for a snugger and slimmer fit.
Final Product
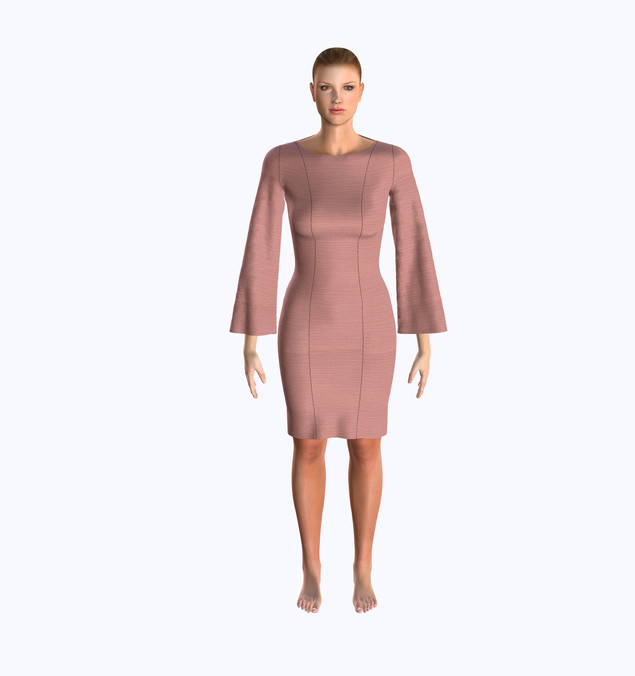
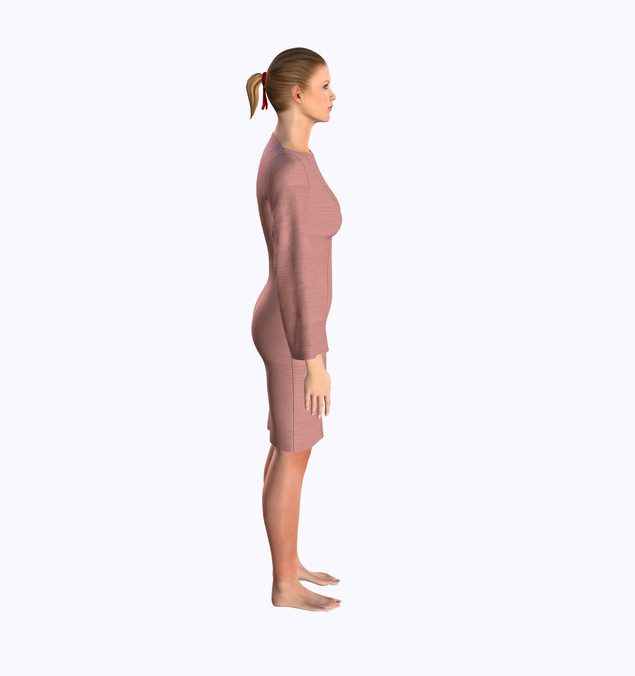
Displayed on the left is my final draped garment from Optitex as well as my final 2D patterns. The fabric I chose is light rose rayon crepe that exemplifies the color pallet and key textures of this collection. After a full look back at my concept and design elements, I decided to redesign the neckline from V neck back to a boat neckline. This look better displays my collections focus and presents an "Ebb and Flow" for the consumer.
The development of this collection and my time spent working with Gerber Accumark and Optitex provided me a strong understanding of the value and importance behind digital pattern-making. My digital skills were not only expanded but my interest and mastery of CAD work grew as well.


